How to Change a Tire in 10 Easy Steps?
Instead of paying any shops for change a tire, you can get this process done with a few handy tools.
A smooth drive that would help us reach our destination may not always land up in the way we think.
At times, you may not face any hurdles while reaching your destination and in certain cases, you may have to face the inevitable. But gearing up for such unpredictable circumstances is very important.
A flat tire cannot be predicted. Sometimes you may get a hint before beginning your journey and sometimes it may occur all of a sudden while you are driving.
When you are traveling and such circumstances arise then one should not panic. It is better to learn how to change the tire so that you can deal with such untoward incidences.
Knowledge of changing your tire will come handy at any given situation whether it is for your car or helping someone else.
Today we will walk you through 10 simple steps of changing the tire.Below are a few of the important tools that would be required for changing the tire.
Table of Contents
How to Change a Tire
These tools need to be present in your car so that it becomes easier while getting the tire changed.
- Jack
- Spare Tire
- Jack Stand
- Breaker bar or Wrench
In most of the cases, you would already be having the tire wrench and jack included in the trunk of the vehicle. Few of the other tools you can easily purchase from the auto-parts store or online websites.

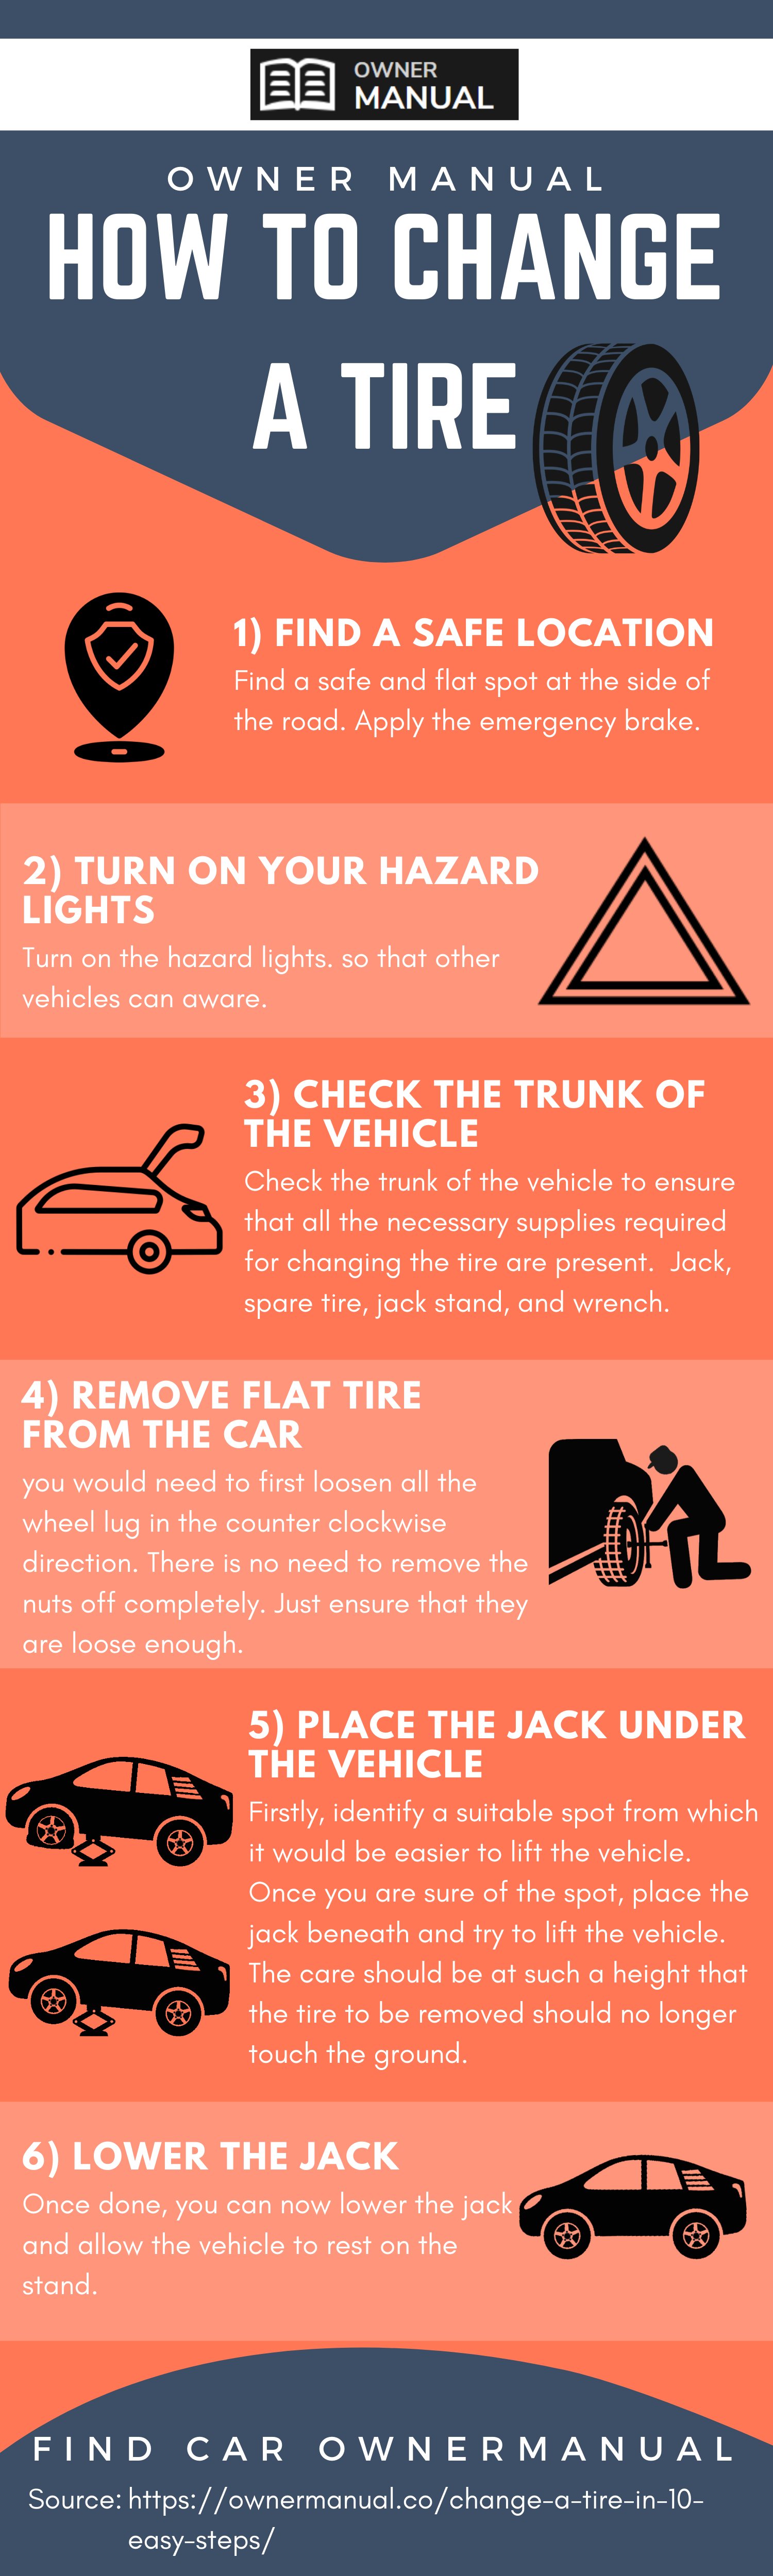
Step 1: FIND A SAFE LOCATION
While driving if your tire goes flat then first and foremost find a safe and flat spot at the side of the road. Pullover your car at the side and then assess the intensity of the damage. Avoid changing the tire on an inclined road.
You would need to apply the emergency brake and then put the car in its first gear in case if it needs to be done manually. You can also apply automatic brakes.

Step 2: TURN ON YOUR HAZARD LIGHTS
Time to turn on the hazard lights. This is necessary so that the other vehicles are made aware. If needed you can also place some heavy objects in the front portion of the tires so that the car stays steady and does not move while you get the tire changed.
This is an important step and you should not avoid it even if you are frenzy with all this work. The last thing you want is the car rolling while changing the tire. This can be dangerous for other vehicles and people around them.
Step 3: CHECK THE TRUNK OF THE VEHICLE
You would now need to check the trunk of the vehicle to ensure that all the necessary supplies required for changing the tire are present. You need to open the interior trunk lid and reach out for tools such as jack, spare tire, jack stand, and wrench.
These are the most important tools required for changing the tire hence it should always be present in the trunk of your vehicle. If any of these items are missing, then it is time to call over a tow truck so that it can take you to the garage for getting the tire changed.

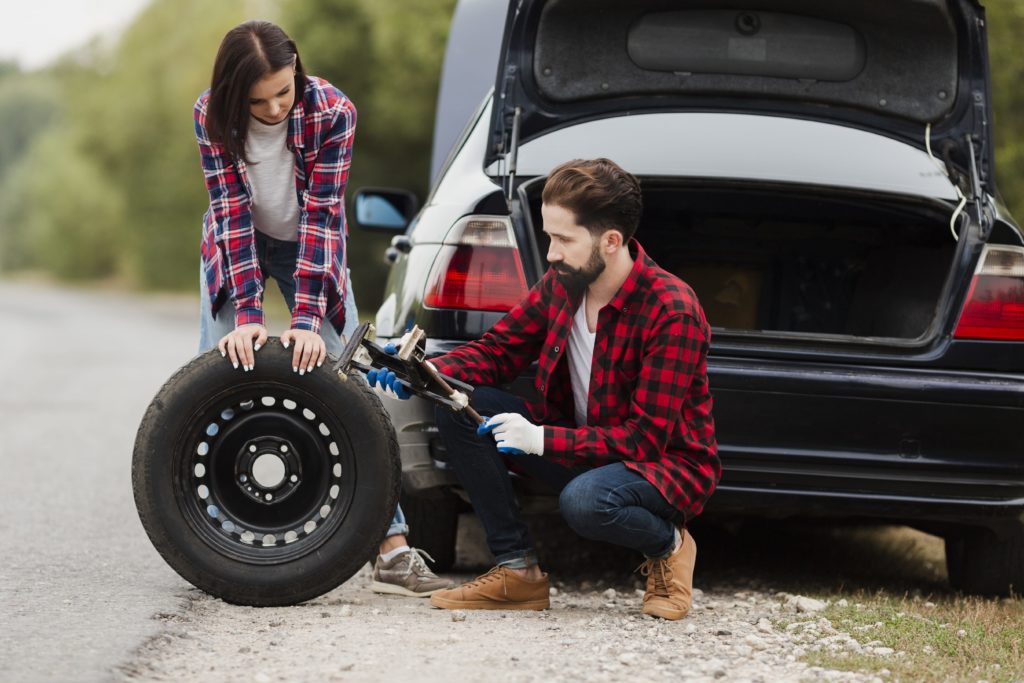
Step 4: REMOVE FLAT TIRE FROM THE CAR
Once you have all the necessary ingredients to change the tire, the next step is to remove the flat tire from the car. With the help of a tire wrench or the breaker bar that is of the appropriate size, you would need to first loosen all the wheel lug in the counterclockwise direction.
This process should be done to a point that they rotate without much resistance. There is no need to remove the nuts off completely. Just ensure that they are loose enough.
In case if your wheel has locks then you may also need a special socket adapter before you get that wheel lock removed. These sockets are said to be attached plainly at the end of the wrench and then allow it to loosen the lock bolts.
Step 5: PLACE THE JACK UNDER THE VEHICLE
Gear up for lifting the vehicle with the help of a jack. Firstly, identify a suitable spot from which it would be easier to lift the vehicle. It can either be a frame rail or a given jack point.
If you are unsure where exactly is the designated jack point, then better refer to the owner’s manual for the details. The best-designated spot may vary from one vehicle to another. Once you are sure of the spot, place the jack beneath and try to lift the vehicle.
The care should be at such a height that the tire to be removed should no longer touch the ground. Mostly it would be recommended to get your vehicle high enough for a jack stand to be easily inserted so that the vehicle can then rest.
Note that, you would not be able to loosen the lug nuts when the tire is off the ground. Lifting the car with the jack and then placing it back again for loosening the lug nuts is frustrating work.
Step 6: LOWER THE JACK
As part of safety standards, it is recommended to place a jack stand at a suitable location or the designated jack point. Once done, you can now lower the jack and allow the vehicle to rest on the stand.
If you do not have a jack stand and making use of a small jack, then it is advisable to not go below the vehicle to get the work done. This can be turn out to be risky since there are chances that the jack may fail and the car may all of a sudden hit the ground.
Step 7: LUG NUTS ARE NOW LOOSE
Since the lug nuts are now loose, it is time to get them removed. Ensure to place these nuts somewhere handy so that they do not rollover.
You would be requiring these nuts once the tire is changed. Once you get all the lug nuts removed, the flat tire would easily come off from the vehicle. Place it somewhere nearby so that it does not roll away.
Step 8: Once you get the tire off the vehicle, it is time to lift the spare tire into its place and slowly slid it in the exposed lug nut region. The spare tire should be facing the right direction so that it becomes easier to put back the nuts. In case if your vehicle already has wheel studs then aligning the tire becomes easier.
Slowly start placing back all of the lug nuts into its place with your fingers. Before you reach out for the wrench ensure that the nuts are finger tight. Once they all seem tight, you can use the wrench to tighten it properly.
Once done, you can double-check if all the lug nuts are in place properly. There are chances that the tire can shift on the bolts as you would be tightening the nuts.
Step 8: LOWER THE VEHICLE COMPLETELY
Now you can heave a sigh of relief since the complicated part of the process is now done successfully. Time to lower the vehicle on the ground by lowering the jack. You need to keep an eye on the spare tire which has just been placed to ensure that it is in its right position on the lug nuts.
If you are unsure then try to twist it one more time with the help of a wrench. Once everything seems to be in place, it is time to gather yourself and the tire to clean up the work.
The flat tire should be placed in the trunk of the vehicle. You do not want to be that person who has left the tire at the side of the road after getting all the work done properly.
Step 9: It is now time to check if everything is working fine. Note that the spare tires are mostly small in size than the standard ones. Hence it is recommended to maintain a certain maximum speed.
To ensure that you do not have to deal with another tire issue, maintain the recommended speed that is provided on the spare tire. If things go smoothly, then you can pat your back that you have got the flat tire changed successfully.
The above-mentioned steps are very easy to follow. In the first few attempts you may face certain problems but those shouldn’t be major ones. Ensure to also follow all the safety protocols while getting the tire changed.
It is important to get the car at the side of the road before you begin your work. Carrying out your work in the middle of the road can disrupt the traffic and may also lead to accidents. Most importantly, one should always be prepared for such an untoward incident.
Check the trunk of your car before you set out for any long journey to ensure that all the necessary tools are placed properly. Missing out on any one of the tools would mean waiting for a tow vehicle to take your car to the nearest garage for getting the tire changed.
However, when you are aware of the above steps and have all the necessary tools you need not panic. Just get the work done stress-free.